Currently Empty: $0,00
Fiber – Installation Guide
Your panels must be applied to the surface not in a regular fashion (Figure 1) but in an irregular fashion (Figure 2). This way, vertical joints will not become aligned and you will not have repetitive textures in the same area.

Figure 1
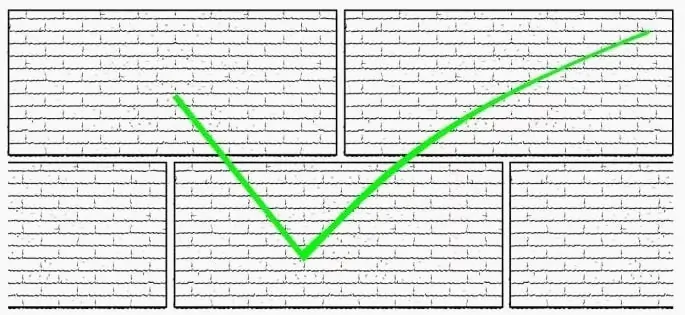
Figure 2
At vertical joints of your panel (in brick models), gaps between half-cut bricks must be filled with Mastic, while joints must be formed between full-sized bricks without any filling (Figure 3). n the stone models, stones similar in size must be combined by way of filling while there must be a joint in between differently-sized stones.
Similarly, half-cut bricks must be merged and brushed into a corner in places where edges of two panels form a corner (Figure 4).
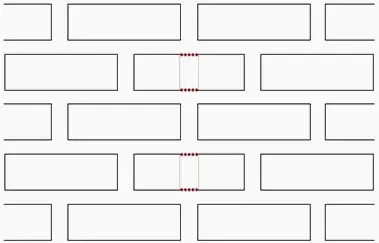
Figure 3
Before using the retouching brush, you must make sure that areas applied with mastic have completely dried. Otherwise, paint may bleed after several days, causing color tone differences at joints.
While applying the mastic, you can prevent lumping by continuously cleaning your brush with the cleaning products supplied to you.
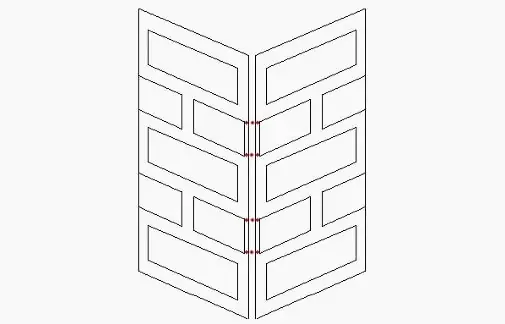
Figure 4
Measure the installation area.
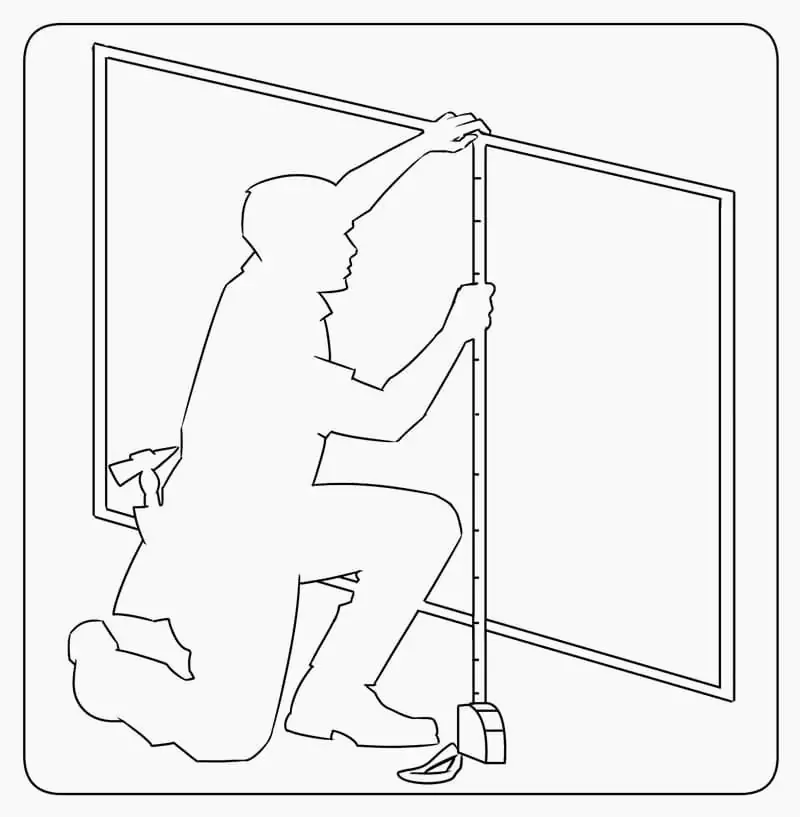
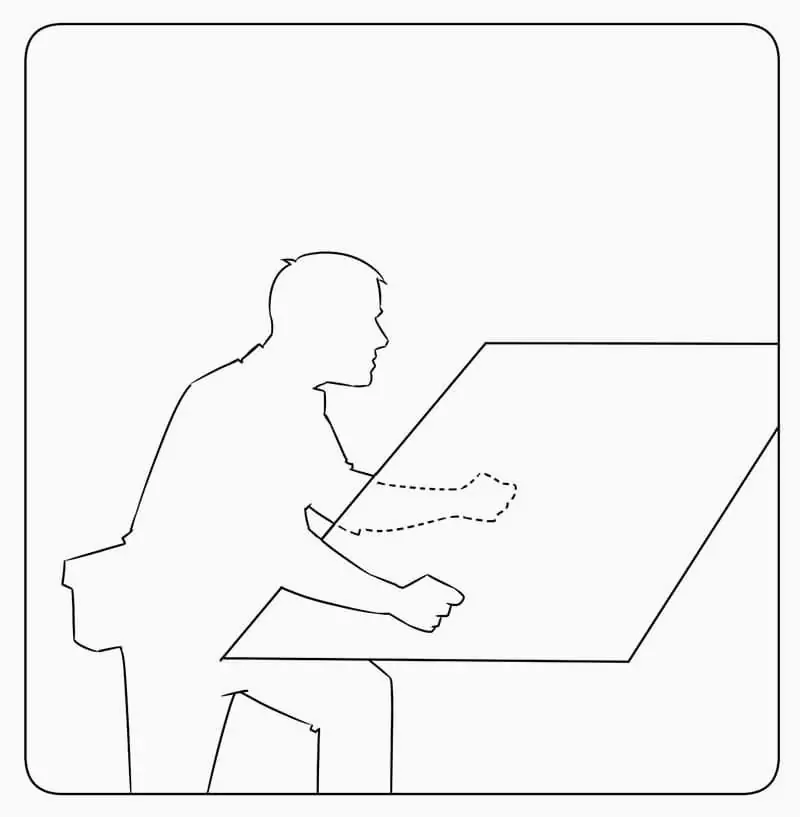
Cut the panels using spiral diamond saw.
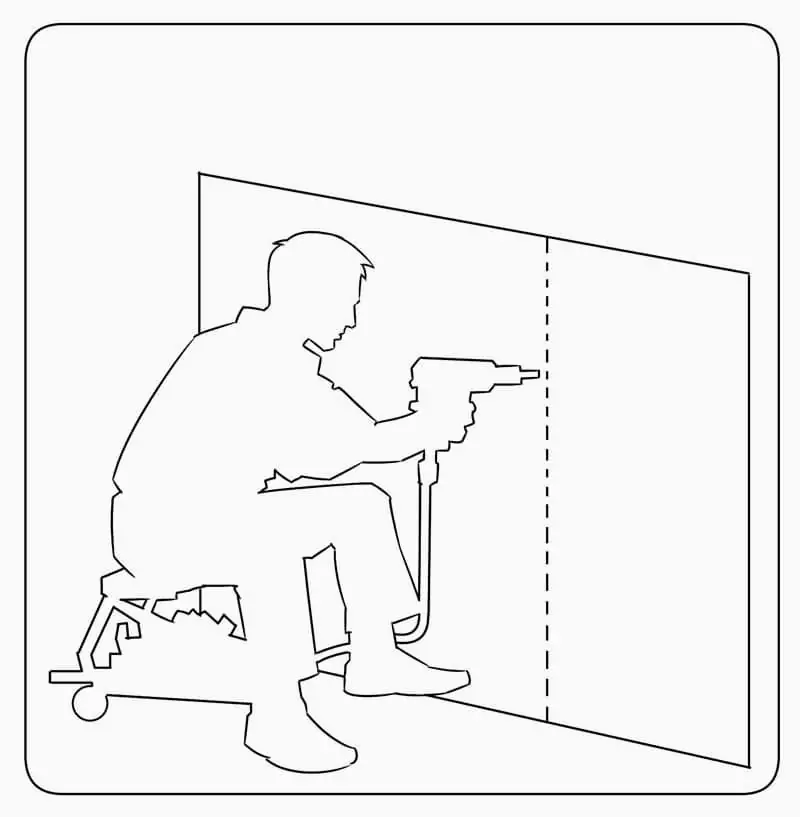
Place the panel on the application surface and make holes using a power drill.
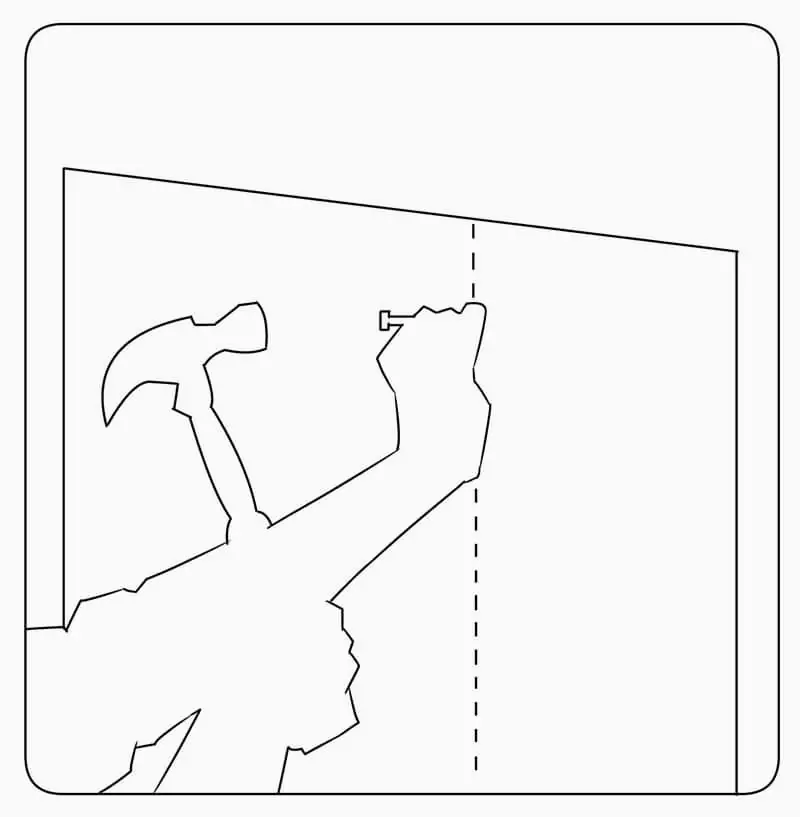
Place the panel on the application surface and make holes using a power drill. Fix panels to surface with screws and hammer. Use an average of 20 screws for each panel.
Cover joints and screw holes by filling with Mastic using a spatula.
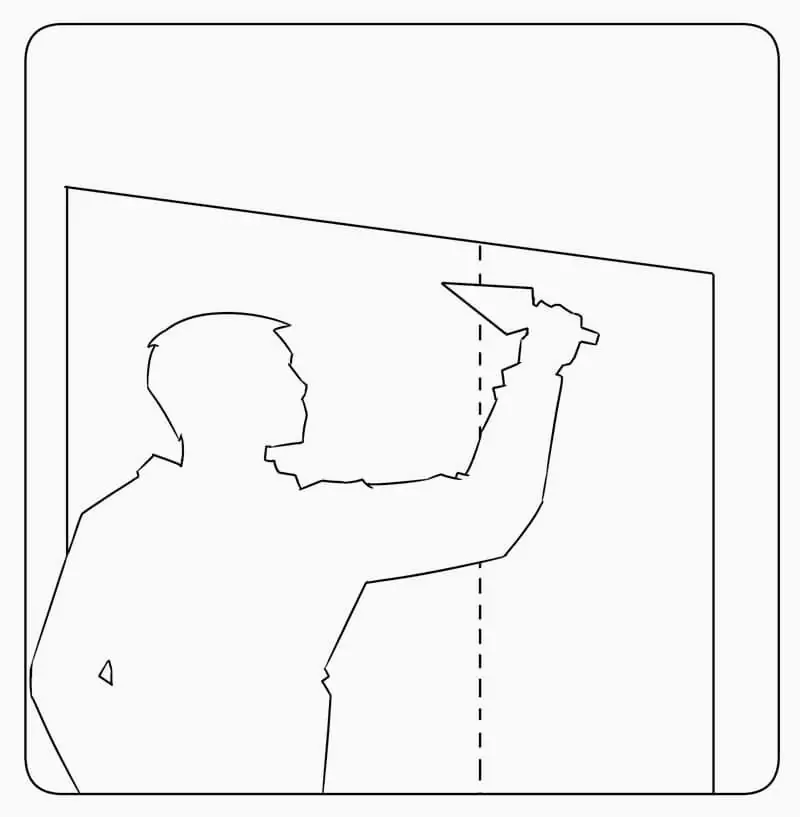
Spread mastic with help of brush.
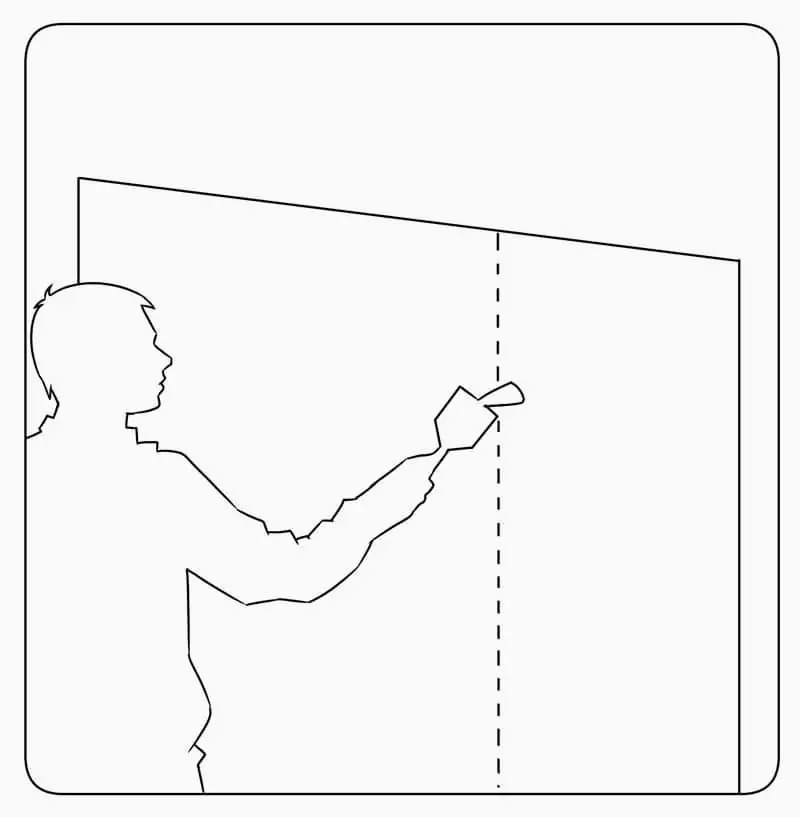
Paint joints and screw holes with a matching color paint.
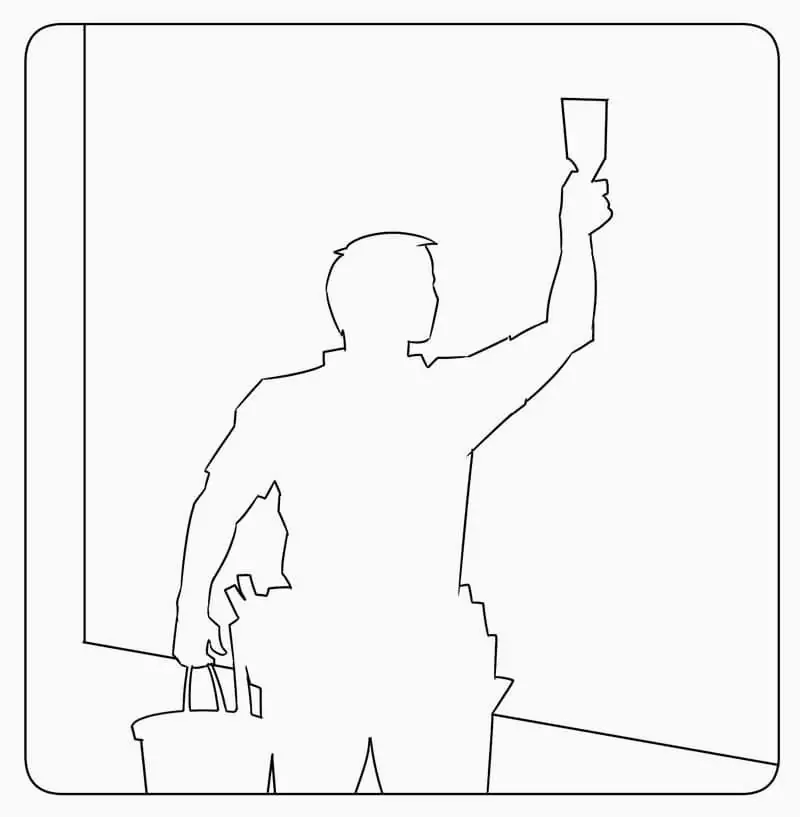
Finally, wipe the surface clean with a piece of cloth or a sponge.
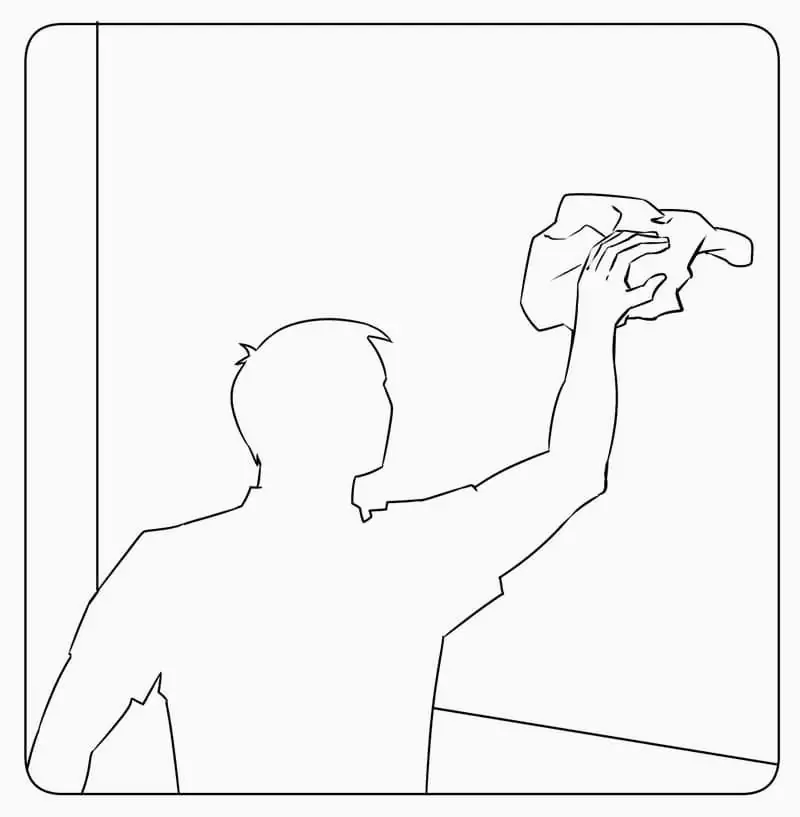
Installation is complete. You can now enjoy your new Panel!
